Your Complete Checklist for Class A CDL Pre-Trip Inspection
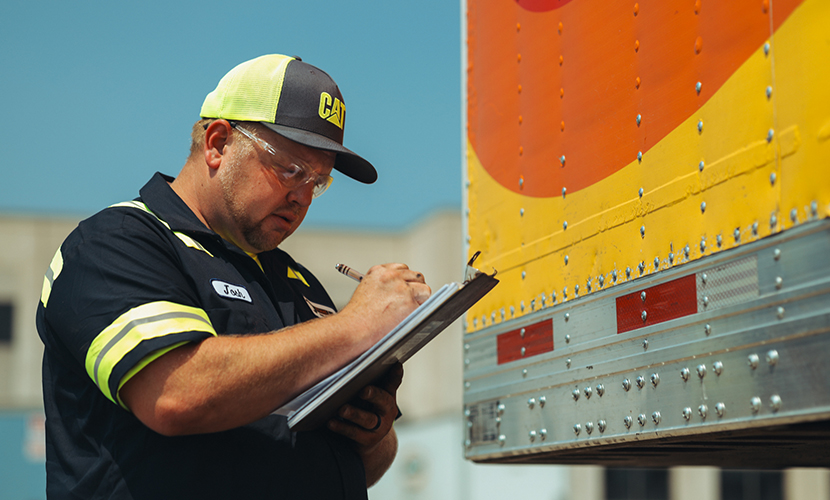
One of the key requirements for road safety and fleet operation is making sure that the trucks you have on the road are safe and well-maintained. While anything can happen on the road, you want to do everything in your power to minimize the chances of parts failing, loss of control, or other causes of accidents.
This is so important, in fact, that it’s rolled into law under the Federal Motor Carrier Safety Administration legislation. In fact, part 396.3 (a) requires every motor carrier to “systematically inspect, repair, and maintain, or cause to be systematically inspected, repaired, and maintained, all motor vehicles subject to its control.” Your drivers must complete this pre-trip checklist, and you must keep records of the results. These records are stored as DVIRs, or Driver Vehicle Inspection Reports, and must be presented when asked at inspections.
These inspections are critical for the continued operation of your fleet. If your drivers fail to perform them or perform them inadequately, it can result in serious fines from the FMCSA, reduce your business’s CSA scores, and even result in a loss of licenses or certifications. Any driver who doesn’t complete these checklists appropriately needs to be trained, disciplined, and/or fired before they jeopardize the safety of other people on the roadway and the viability of your business.
So, what’s on the Class A CDL Pre-Trip Checklist for Vehicle Inspection? Let’s dig into it.
What’s On the Class A CDL Pre-Trip Inspection Checklist?
A comprehensive inspection of a truck should take somewhere between 10 and 30 minutes before leaving on a trip, which includes both performing the inspection and filling out the form. Some items are very easy to check, while others may require a bit more detailed inspection; all of them need to be done, and records of the results need to be kept.
Note: The Driver Vehicle Inspection Report, or DVIR, should be kept as part of records along with the vehicle. In the event of an accident or vehicle failure, it’s very likely that this report will be checked, and if there’s a mismatch, it can put the driver in hot water.
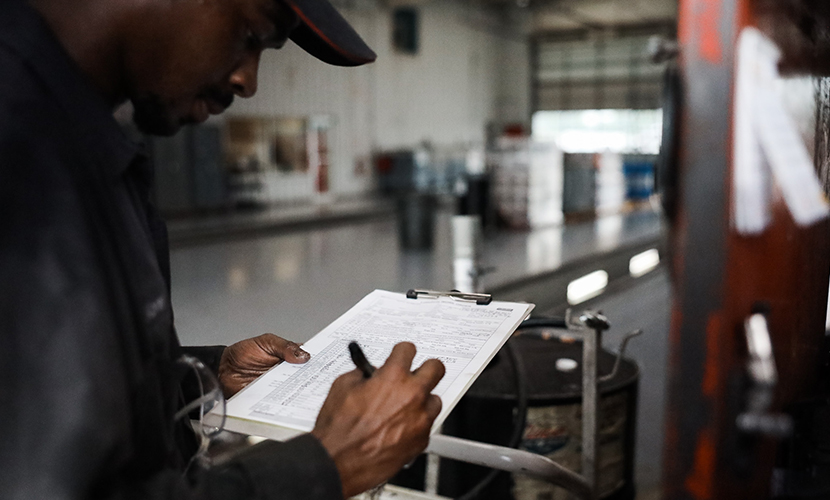
While you can technically perform the inspection in any order and with any starting point, it’s most common to do a tip-to-tail pattern starting at the front of the truck and working back. Thus, we’ll format our guide here in the same way.
Before we dig in, though, one important statement must be made: this is not an official checklist; it’s just an example of the kinds of things being inspected for a DVIR. Be sure to reference your local laws and specific regulations to determine what needs to be on your checklists.
Front of Truck
Starting with the front of the vehicle, check:
Lights. Make sure all front-end lights are clean and visible. Further, make sure they’re all operational, the right color, and are securely mounted in place.
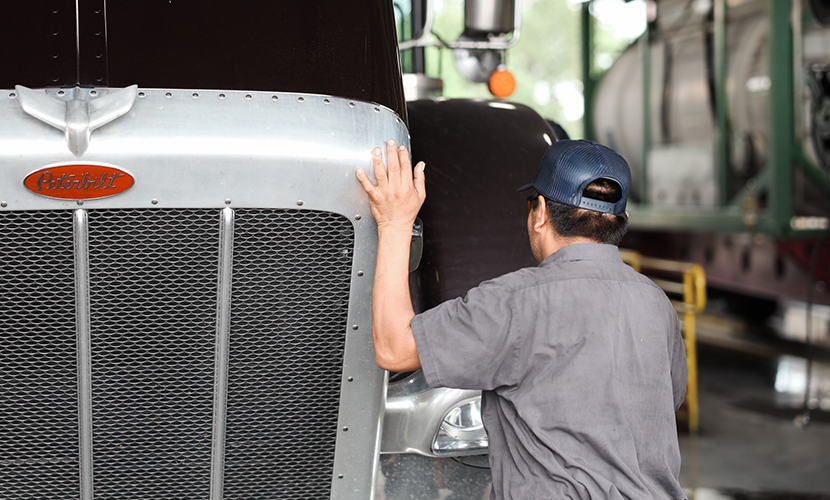
Tilt. Make sure the truck isn’t visibly leaning, which can indicate problems elsewhere.
Leaks. Make sure there are no visible fluid leaks underneath the engine compartment, which can indicate problems elsewhere.
Engine Compartment
Under the hood, there’s a lot to check.
Fluids. Each fluid is important, including power steering, coolant, windshield washer fluid, and engine oil. Check the reservoirs and fluid levels, fluid quality, and check the hoses for splits, cuts, cracks, and proper mounting.
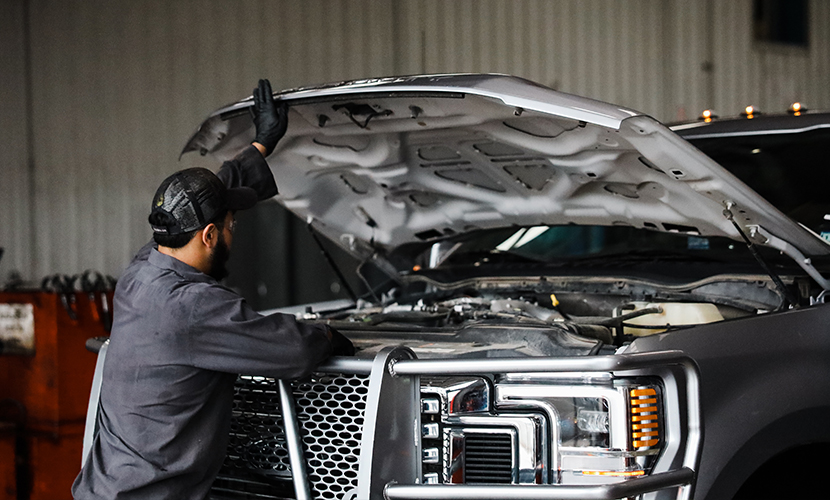
Belts. Engines rely on belts to function, so check the belts for any pumps, the air compressor, and the alternator to make sure they’re in good condition. Look for cracks in the belts, and check to make sure they have a minimum amount of play (no more than 3/4ths of an inch.)
Engine elements. Check the air compressor, alternator, and water pump to make sure they are all properly mounted, appropriately connected, and free of cracks, leaks, or other faults.
Front End
Aside from the visible front and the engine, there are other aspects of the front of the truck that must be checked.
Steering. Make sure the steering gearbox and any attached hoses are clear and free of damage, leaks, cracks, or other issues. Make sure everything is properly secured. Further, check the steering column and make sure it’s not bent or broken.
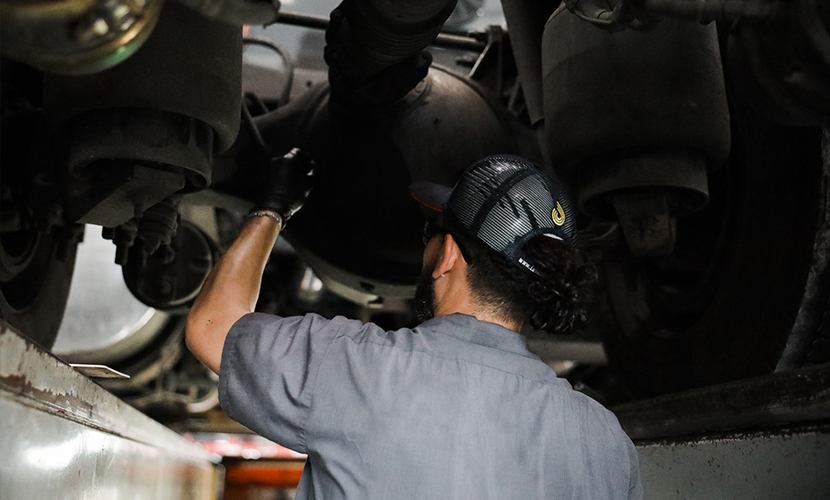
Rods and arms. Check that the Pitman arm is in good condition and that the cotter pins are present and tight. Check the drag link for proper greasing and good condition in the rubber. Check the control arms and tie rods to make sure they’re secure and aren’t cracked, bent, or broken.
Front suspension. Check that the spring mounts, spring hanger, and leaf springs are all in good condition and are not cracked or broken. Check that all U-bolts are accounted for and not worn down. Check the shock absorber for leaks, which are typically along the top or bottom, and make sure that the rubber is in good condition. Check the airbag for abrasions, cuts, leaks, and missing bolts.
Cab
The cab contains many essential elements for a successful trip and, of course, must be inspected.
Seat belts should be free of rips and frays and should latch properly.
All lights and indicators should be operational.

The windshield should be free of debris and cleaned, with no more than a 1″ crack anywhere.
HVAC needs to be operational.
Safety equipment needs to be present and accounted for.
Driver’s Side
On the driver’s side of the vehicle are several critical components that must be checked.
Mirrors. Check that the mirrors are properly attached and mounted. Make sure they are clean and are not broken and that they have proper alignment for visibility.
Door. Check to ensure the door is properly operating and latching and that the hinges are intact. Further, make sure the door seals are in good condition and are not torn, rotted, or missing.
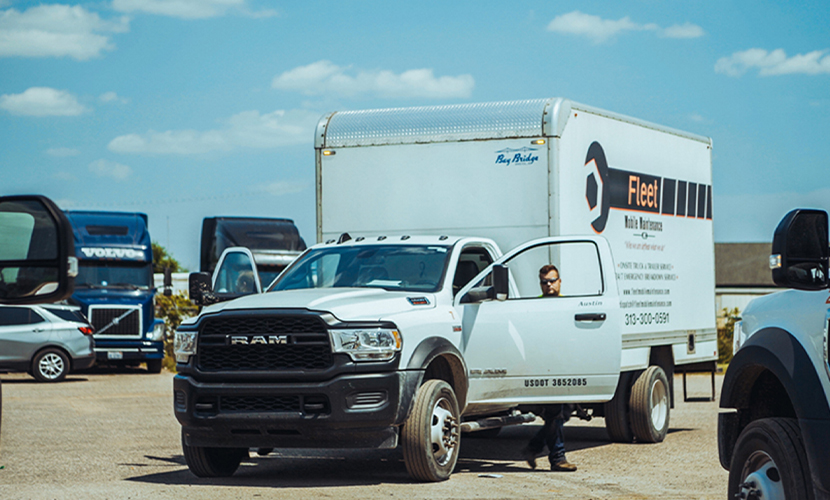
Steps. Any steps or ladders should be in good condition, properly mounted, and can hold weight properly.
Fuel tank. Make sure the tank is not leaking, that the fuel cap is tight and sealed and that no sensors are tripping during normal operation.
Rear End
The back of the truck is just as important to inspect as the front.
Drive shaft. Make sure the drive shaft is straight and not twisted, the joints are in good condition, and there’s no debris caught up in it along the way.
Exhaust. Make sure the exhaust system is in place and operational, that there are no signs of leaks such as soot build-up, and that critical elements like the SCR system are intact.
Frame. Ensure that the visible points of the frame that are exposed are in good condition, that nothing is broken or cracked, and that there are no unauthorized welds or improper repairs.
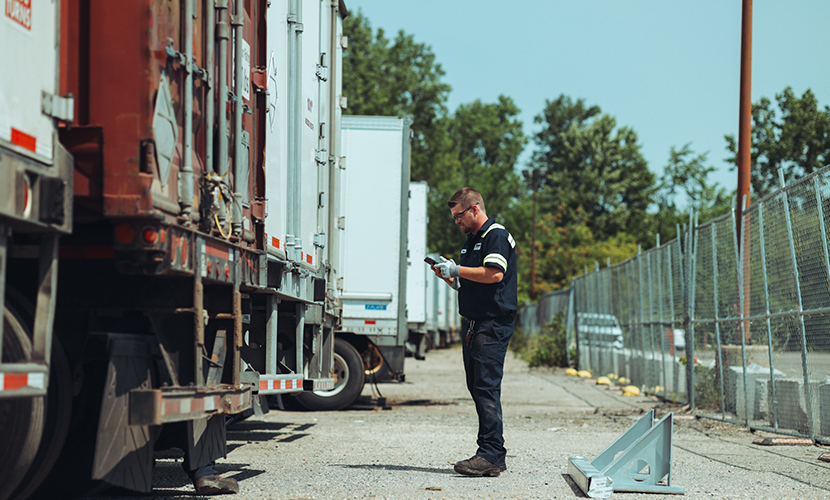
Steps and catwalks. Where present, make sure that these elements are properly secured, free of debris, and in good condition.
Mudflaps. Make sure these are secured and in good condition and are positioned at the right height for the truck.
Lights should all be in good condition, clean, properly mounted, and functional. Turn signals, brake lights, hazards, license plate lights, and others are all essential and should be checked.
Couplings
The couplings between truck and trailer are essential for proper operation and safety on the road.
Air connectors. Make sure this connector is secure and free of abrasions, cuts, or leaks. Make sure it doesn’t drag or dangle beneath the vehicle where it could be damaged.
Electrics. Make sure the electric lines are secure and free of abrasions or cuts. Check for safety latches and make sure it doesn’t drag or dangle.
Gladhands. Make sure these connectors are in good condition and that their seals are intact with no signs of rotting or leaking.
Fifth wheels. Make sure the platform is secure to the frame and is in good condition, free of cracks or bends. Check for unauthorized welds or improper repairs.
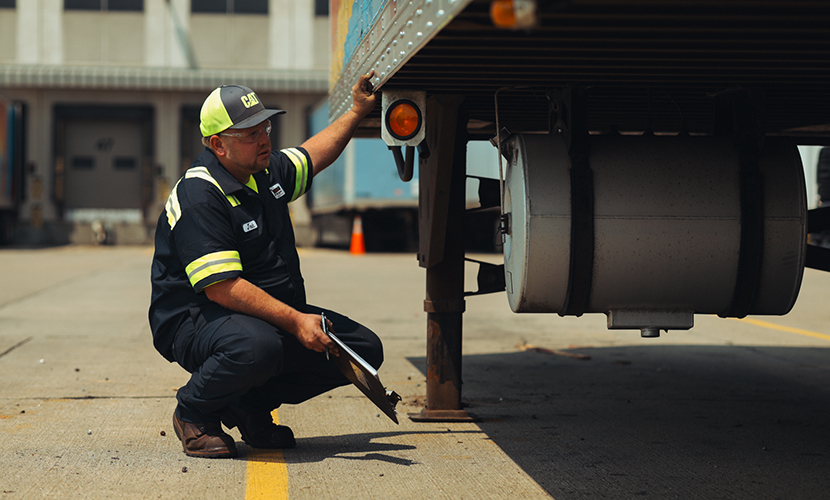
Mounting bolts. Check these for their presence and proper mounting.
Skid plate. Check to make sure this is properly greased.
Release arm. Make sure this is secure and fully locked.
King Pin. Make sure this is securely in place and free of damage like cracking or bending.
Apron. Make sure this is mounted and secure as necessary and is free of cracks or breaks.
Brake System
Very little is more important in a commercial vehicle than the brakes, so these need to be inspected before every trip.
Brake hose. Make sure this is securely mounted and free from splits, cuts, and leaks.
Brake chamber. Make sure this isn’t leaking air; some slow, minor leakage is common, but it should not be audible.

Slack adjuster. Make sure this and the push rod are properly secured and have no more than an inch of play when the brakes are manually pulled. Make sure it stays at the proper angle from the brake chamber.
Brake drums. Check to make sure these aren’t bluing from heat or otherwise damaged.
Brake pads. Check for oil, debris, or other obstructions that can hamper the proper function of the brakes. Further, make sure the brake pads are at least a quarter inch thick.
Wheels
There are a lot of wheels on a commercial truck, and they all need to be inspected.
Steer tires. Look for cuts, bulges, abrasions, or damage to the tires. Make sure the rims are in good condition. Check inflation levels and ensure they’re within proper specifications. The minimum tread depth is typically 4/32″, and the tread should be evenly worn.
Drive tires. The same as above. Minimum tread depth should be 2/32″.
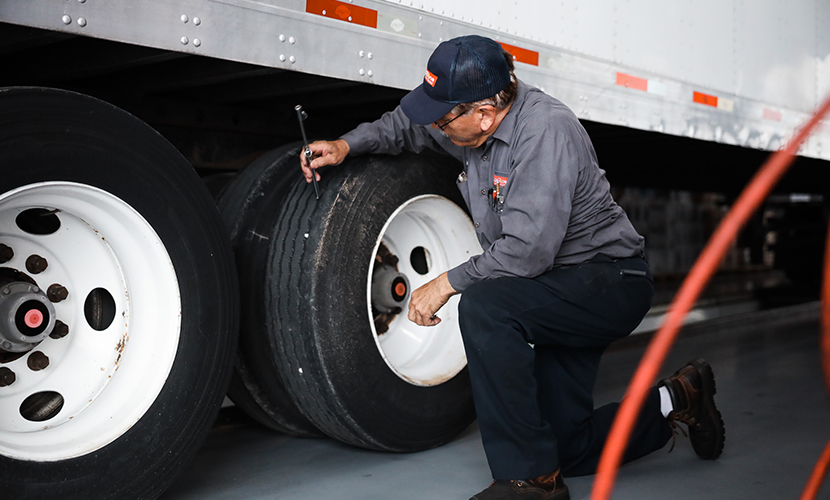
Valve stems should be secured and in place with no audible leaks.
Lug nuts should all be accounted for and in good condition.
Are There Differences Between Class A and Class B Checklists?
Yes. While today’s post goes into detail specifically with class A CDL checklists, class B checklists also exist and are somewhat different.
The difference, primarily, is due to the differences in what kinds of vehicles fall under class A and class B. Since class A vehicles are generally towing, while class B tend to be passenger vehicles more like buses, there are some elements that vary. For example, class A inspections don’t generally have an emergency exit to inspect, while class B don’t typically have towing linkages to inspect. That said, be sure to refer to any specific details for your vehicle if you’re operating a class B vehicle as part of your fleet.
Are There Different Requirements for Inspections in Different States?
Truthfully, yes. The checklist is built up from three different sets of guidelines.
At the top level, you have the federal requirements as described by the FMCSA. This is the “bare minimum” amount of inspection your drivers will need to complete in order to operate their vehicles safely and legally. You can read more information about this checklist directly from the FMCSA here.
The second is state-level vehicle inspection report requirements. Each state will start with what the FMCSA lays out but can add its own unique additional elements to the checklist. Sometimes, they’re more or less identical to the federal guidelines; sometimes, they have additional items to check.
To use some examples:
While these more or less cover all of the same bases, some of them will be more broad or more specific than others.
The third layer is company-level additional requirements. Your business might want to add additional items to the checklist if you know they’re more relevant or frequently left out of other inspections, just to make sure all of your bases are covered. These won’t get you in trouble with the government if they aren’t checked, but they can be beneficial for your own purposes.
Additionally, there can sometimes be a fourth layer, which is a vehicle-specific layer. These are specific problem areas you identify with individual trucks, and you can make a point of ensuring that the driver checks them to make sure they aren’t likely to fail mid-trip. Usually, though, these are covered by the other layers already.
How Epika Can Help
At Epika, we specialize in providing a nationwide network of maintenance service providers who can help your fleet with proactive, preventative maintenance. You’ll pass your inspections with flying colors every time because we help make sure every element of a truck is in good repair before the inspections need to be performed.
Simply reach out and learn how we can help keep your trucks operational and, more importantly, safe.
